


Quick answer
What this guide helps you do
Learn what Proxmox VE does, how virtual machines and LXC containers differ, what hardware it needs, and whether it is the right choice for your home server.
Quick answer
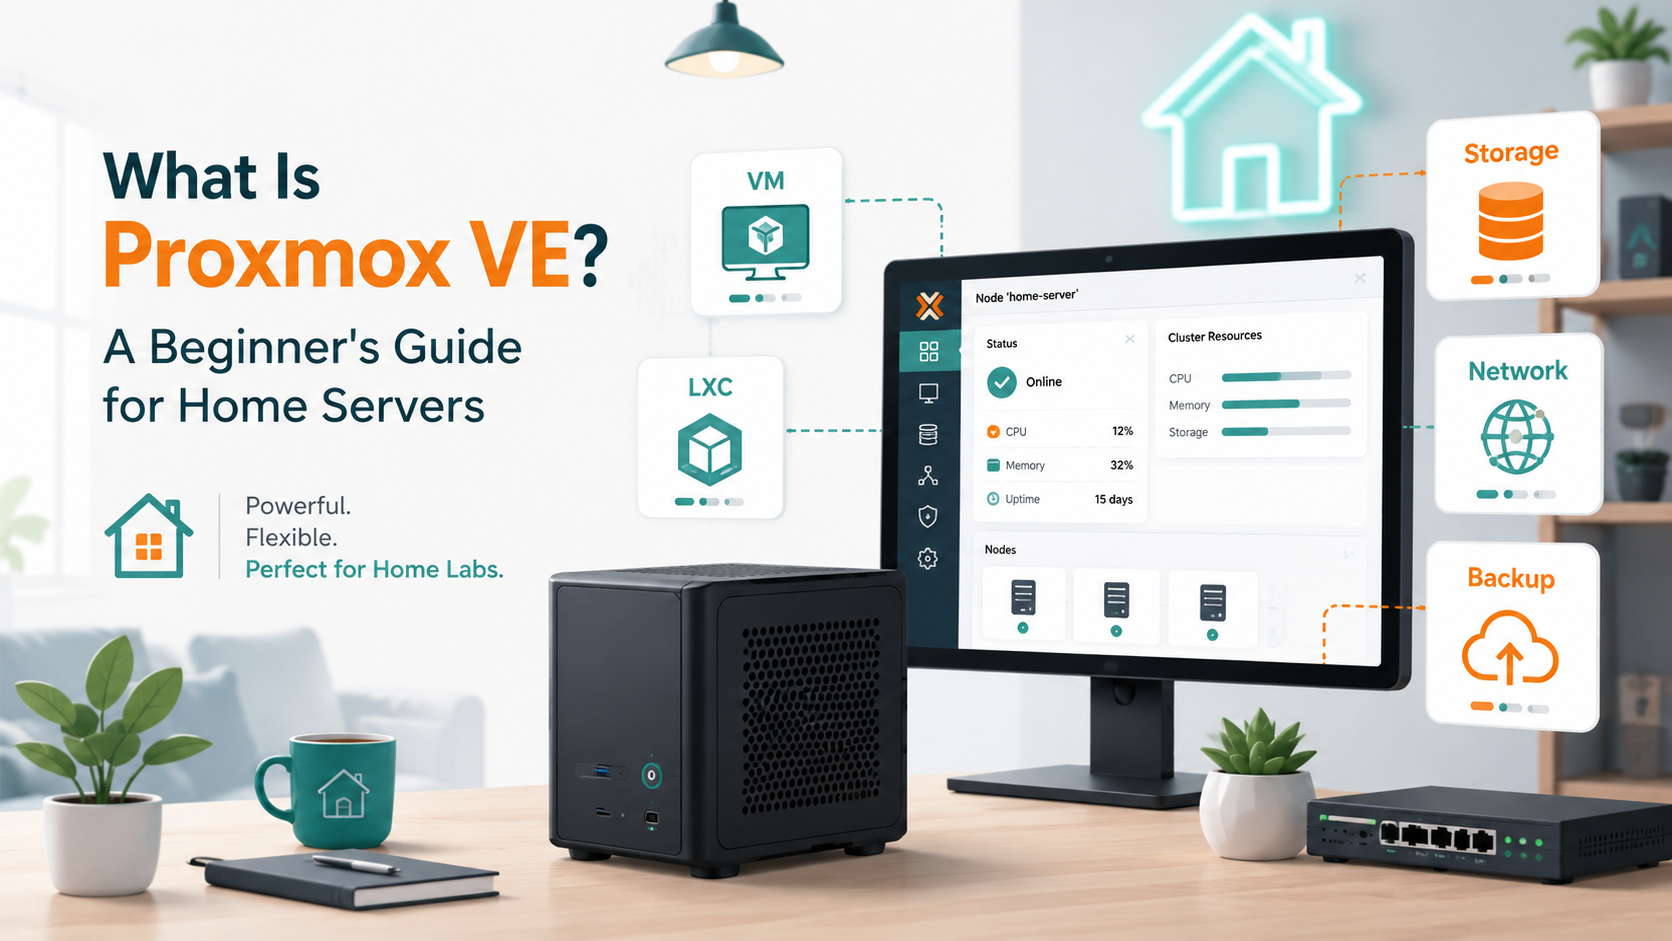
Proxmox Virtual Environment, usually called Proxmox VE, is a Debian-based virtualisation platform that lets one physical computer run several isolated servers.
From one web interface, you can create and manage:
- full virtual machines
- lightweight LXC containers
- virtual disks and storage pools
- Linux bridges and virtual networks
- snapshots and backups
- several Proxmox hosts in a cluster
For a home server, Proxmox is useful when you want to run several separate workloads on one machine without installing everything directly on the host operating system.
A small Proxmox host might run:
Proxmox host
├── Ubuntu Server VM
│   └── Docker services
├── Home Assistant VM
├── Pi-hole LXC
├── Test Linux VM
└── Backup storage
Proxmox is not automatically better than a normal Ubuntu Server installation. It adds flexibility and isolation, but it also adds another layer to understand, update and recover.
What this guide covers
This guide explains the platform before you install it.
It covers:
- what Proxmox VE actually does
- the difference between a virtual machine and an LXC container
- the main hardware and storage requirements
- the advantages and disadvantages for a home server
- when Proxmox is a sensible choice
- when plain Ubuntu or Docker may be simpler
- what to plan before replacing an existing server
This is not yet a step-by-step installation record. The installation guide in this series will be based on an actual SmallGrid test machine, with the hardware, Proxmox version, screenshots, network layout and recovery checks recorded rather than assumed.
What Proxmox VE is
Proxmox VE is the operating system installed directly on the physical server.
It is a type-1 hypervisor, which means the virtualisation layer runs on the hardware rather than inside a normal desktop operating system.
The host provides:
- CPU scheduling
- memory allocation
- virtual networking
- virtual disks
- storage access
- backup jobs
- guest start and stop controls
- a browser-based management interface
The applications normally run inside guests rather than directly on the Proxmox host.
That separation is important.
A clean Proxmox design usually keeps the host focused on virtualisation and puts services such as Docker, Jellyfin, Home Assistant or development tools inside virtual machines or containers.
What can run inside Proxmox?
Proxmox supports two main guest types.
Virtual machines
A virtual machine emulates a complete computer.
It has its own:
- operating system
- kernel
- virtual CPU
- allocated memory
- virtual disk
- virtual network adapter
Examples include:
- Ubuntu Server
- Debian
- Windows
- Home Assistant OS
- a dedicated Docker host
A virtual machine provides stronger separation from the Proxmox host because it runs its own kernel.
That isolation costs some additional memory, storage and processing overhead.
LXC containers
An LXC container is lighter than a full virtual machine.
It has its own filesystem, processes, users and network configuration, but it shares the Proxmox host’s Linux kernel.
LXC containers are useful for small Linux services such as:
- Pi-hole or AdGuard Home
- a web server
- a monitoring service
- a small database
- a lightweight internal application
They normally start quickly and use fewer resources than full virtual machines.
The trade-off is that they are less isolated and can require more care when using Docker, device passthrough, network filesystems or unusual kernel features.
Proxmox VM vs LXC
| Question | Virtual machine | LXC container |
|---|---|---|
| Uses its own kernel? | Yes | No |
| Can run Windows? | Yes | No |
| Resource overhead | Higher | Lower |
| Isolation | Stronger | Lighter separation |
| Setup flexibility | Broad | Linux-focused |
| Hardware passthrough | Usually clearer | Can require extra configuration |
| Best beginner use | Important or complex workloads | Small, simple Linux services |
A sensible beginner rule is:
Use a VM when compatibility and isolation matter most.
Use LXC when the service is small, Linux-based and well understood.
Do not choose LXC only because it uses less memory. A slightly larger VM can be easier to understand, document and restore.
Why use Proxmox at home?
Better separation between services
Without virtualisation, several applications may share one Ubuntu installation.
That can work well, but changes to packages, permissions, firewall rules or storage mounts affect the same operating system.
With Proxmox, workloads can be separated:
Home Assistant problem → Home Assistant VM
Docker update problem  → Docker VM
Test software problem  → Test VM
A broken experiment is less likely to damage an unrelated service.
Easier testing
You can create a temporary guest, test a change, and remove it when finished.
That is useful for learning Linux, Docker, networking and self-hosted applications without repeatedly rebuilding the main server.
Snapshots and backups
Proxmox can create guest backups and, for supported storage configurations, snapshots.
A snapshot is not the same as an independent backup. If the physical storage fails, a snapshot stored on the same disk can disappear with it.
Use the principles in Backups That Don’t Lie: 3-2-1 for Home Servers when planning where Proxmox backups will live.
One interface for several systems
The web interface provides one place to view:
- running guests
- CPU and memory use
- storage capacity
- virtual networks
- backup tasks
- console access
- logs and task history
This is useful once one physical machine hosts several independent systems.
Hardware consolidation
A capable mini PC or desktop may replace several smaller computers.
That can reduce physical clutter and idle power, but only if the consolidated host is measured rather than assumed to be efficient.
Use How to Measure Homelab Power Usage Properly to compare the complete system at idle and under real workloads.
What are the disadvantages?
More complexity
Proxmox adds another layer between the hardware and the application.
A storage problem may involve:
Physical disk
→ Proxmox storage definition
→ VM or container disk
→ guest filesystem
→ application path
A network problem may involve:
Physical network adapter
→ Linux bridge
→ virtual network adapter
→ guest network settings
→ application firewall
The extra layer is useful, but it must be documented.
One host can become one large failure point
Consolidating several services onto one computer means a hardware failure or host update can affect all of them.
This makes backups, recovery notes and spare-hardware planning more important.
Resource planning matters
Virtual machines need reserved disk space and memory.
It is easy to create too many guests, allocate too much memory, or fill the storage with old snapshots and backup files.
Hardware passthrough can become complicated
Passing a GPU, USB controller, storage controller or other physical device into a guest may require BIOS settings, IOMMU support and careful configuration.
A simple service can become less simple if it needs direct access to several host devices.
The host should not become a general-purpose server
Installing unrelated applications directly on the Proxmox host makes recovery and upgrades harder to reason about.
Keep the host minimal and put workloads inside guests wherever practical.
What hardware does Proxmox need?
For a small home lab, start with:
- a 64-bit CPU with hardware virtualisation support
- at least 8 GB of RAM
- an SSD for the Proxmox system and guest disks
- wired Ethernet
- reliable backup storage separate from the main system disk
A more flexible starting point is:
CPU:     4 or more modern cores
Memory:  16 GB or more
System:  SSD or NVMe
Network: 1 GbE wired Ethernet
Backup:  Separate disk, NAS or another machine
These are planning figures, not fixed minimums for every workload.
Memory needs depend heavily on the guests. A few lightweight LXC containers may fit comfortably in 8 GB, while Windows, Home Assistant, Docker and media workloads can justify 16 GB, 32 GB or more.
Do not allocate every available gigabyte to guests. The Proxmox host also needs memory for the operating system, filesystem caches and management processes.
Understanding Proxmox storage
Storage is one of the most confusing parts for beginners because a default installation may show entries such as:
locallocal-lvm
They are not necessarily two physical disks.
They can be two storage definitions using different parts of the same physical drive.
Typical roles are:
| Storage | Common purpose |
|---|---|
local | ISO files, container templates, backups and snippets |
local-lvm | VM and container disks |
| Directory storage | Files stored on a mounted filesystem path |
| NFS or SMB storage | Network-accessible files and backups |
| ZFS storage | Local storage with ZFS features and requirements |
Before installing, decide where these will live:
- Proxmox operating system
- VM and container disks
- ISO images and templates
- guest backups
- large application data
- media libraries
Do not assume that a large media disk should become a virtual disk inside one VM. Sometimes it is better to keep bulk storage mounted on the host and expose it carefully to the guest. The right design depends on backup, permission, portability and passthrough requirements.
Understanding Proxmox networking
Proxmox normally creates a Linux bridge named something like:
vmbr0A bridge behaves like a virtual network switch.
The physical network adapter connects to the bridge, and virtual machines or containers connect virtual network adapters to the same bridge.
A simple home layout is:
Router and LAN
     │
Physical Ethernet port
     │
   vmbr0
 ┌───┼───────────┐
VM 1 VM 2      LXC 1
Guests can then receive addresses from the normal home router or use static addresses where appropriate.
The Proxmox management address should be planned carefully. Changing bridge or IP settings remotely can disconnect the web interface, so early networking changes should be made with local console access available.
Is Proxmox free?
Proxmox VE is open-source software and can be used without buying a subscription.
Paid subscriptions provide access to the enterprise package repository and commercial support.
Home users commonly use the no-subscription repository, but the repository configuration and update process must be set correctly after installation.
The browser interface may display a subscription notice when no subscription key is installed. That notice does not prevent normal use.
Proxmox or Ubuntu Server?
Choose plain Ubuntu Server when:
- the machine has one clear purpose
- you are comfortable running the services together
- you want the fewest layers
- direct hardware and storage access matters
- the existing setup is reliable and documented
Choose Proxmox when:
- you want several isolated servers on one machine
- you regularly test new systems
- you want independent guest backups
- you need both Linux and Windows guests
- you want to separate important services from experiments
- you are prepared to document storage and networking properly
For a single Jellyfin and Docker server, Ubuntu may remain the simpler option.
For a home lab containing Home Assistant, Docker, test machines, DNS services and development environments, Proxmox can provide a cleaner structure.
Should you install Proxmox on your current server?
Do not replace a working server only because Proxmox looks more advanced.
Before migrating, answer:
- What problem will virtualisation solve?
- Which workloads need a VM?
- Which workloads could use LXC?
- Where will guest backups be stored?
- How will existing data be moved and verified?
- Does any service need direct GPU, USB or disk access?
- What happens if the Proxmox host fails?
- Can the current server be restored while you learn?
The safest learning path is usually a spare mini PC or desktop.
That allows you to learn installation, bridges, storage, backups and recovery without putting the current media server at risk.
Suggested first Proxmox lab
A useful beginner lab is deliberately small:
Proxmox host
├── Ubuntu Server VM
│   └── Docker installed
├── Ubuntu LXC
│   └── one simple test service
└── separate backup destination
Use it to practise:
- creating a VM
- creating an LXC container
- assigning CPU and memory
- uploading an ISO
- understanding
vmbr0 - taking a backup
- restoring the guest
- shutting down and restarting the host
Do not begin with clustering, Ceph, GPU passthrough and a full production migration at the same time.
Version note
As of 18 July 2026, the current Proxmox VE ISO release is 9.2-1.
Proxmox VE 9 is based on Debian 13. Interfaces, repository instructions and defaults can differ from older Proxmox 7 or 8 tutorials.
Always record the exact version used in a build:
pveversion -vThis makes later troubleshooting much more precise.
SmallGrid recommendation
For SmallGrid’s tutorial series, the best approach is:
Understand the platform
→ install it on spare hardware
→ record the real network and storage choices
→ create one VM
→ create one LXC container
→ prove backup and restore
→ only then add important services
Proxmox is valuable because it makes separation and experimentation easier. It is not valuable when it adds layers that nobody understands or can recover.
Recap
Proxmox VE turns one physical server into a platform for virtual machines and LXC containers.
It is a good home-server choice when you need isolation, testing flexibility and central management across several workloads.
It may be unnecessary when one Ubuntu Server installation already runs a small, stable set of services.
Start with a clear reason, spare hardware where possible, separate backups and a simple first lab. The next guide in this series will cover a complete Proxmox VE installation using a recorded test environment rather than generic screenshots or unverified settings.